Table of Contents
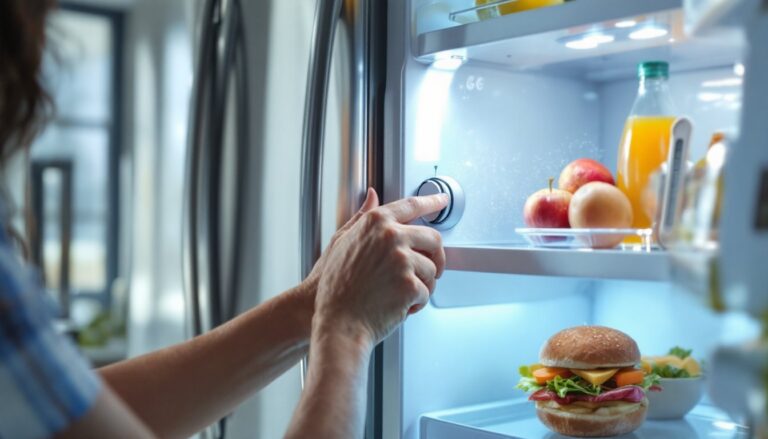
ToggleA malfunctioning water inlet valve in your Whirlpool refrigerator can turn an otherwise dependable appliance into a frustrating problem. Whether the ice maker suddenly stops working, water drips where it shouldn’t, or the dispenser trickles instead of flows, the culprit is often a failed water inlet valve. The good news? Replacing a Whirlpool refrigerator water inlet valve is a manageable DIY project for most homeowners, and you’ll save the $200–$400 service call fee. This guide walks you through identifying the problem, gathering the right tools, and completing the repair safely and confidently.
Key Takeaways
- A Whirlpool refrigerator water inlet valve regulates water flow to the ice maker and dispenser, and typically lasts 5–10 years before mineral buildup or solenoid wear causes failure.
- Common signs of a failing water inlet valve include weak water dispenser flow, ice maker stoppage, and water leaks under or inside the refrigerator.
- Before replacing the valve, check the water supply shutoff valve and inspect the inlet hose for cracks or kinks to rule out simpler causes.
- Replacing a Whirlpool refrigerator water inlet valve is a DIY-friendly repair that saves $200–$400 in service fees and typically takes 30–60 minutes to complete.
- Hard water and dirty supply lines accelerate valve failure, so maintaining water quality and regular filter changes can extend the valve’s lifespan.
What Is a Water Inlet Valve and Why It Matters
A water inlet valve is an electrically controlled solenoid valve installed inside your refrigerator that regulates the flow of water to the ice maker and water dispenser. Think of it as a gatekeeper: when you press the dispenser button or the ice maker cycles, the valve opens briefly to let water through, then closes to stop the flow.
Whirlpool refrigerators rely on this valve to maintain consistent water pressure and flow. Over time, typically 5–10 years depending on water quality and use, the valve can fail due to mineral buildup, sediment, or the solenoid coil wearing out. Hard water and dirty supply lines accelerate this wear. When the valve fails, you lose the ability to dispense water or make ice, or you may see leaks pooling under the fridge or inside the freezer compartment. Understanding this component helps you diagnose problems quickly and know when a replacement is truly necessary rather than just a clogged line.
Signs Your Whirlpool Refrigerator Water Inlet Valve Needs Replacement
Before you pull the refrigerator away from the wall, confirm that the valve, not the water supply line or filter, is actually the problem. A few simple checks will save you time and guesswork.
First, check the water supply shutoff valve behind or under your fridge (usually a small knob connected to the inlet hose). Make sure it’s fully open: if it’s partially closed, you’ll get weak flow everywhere. Next, inspect the inlet water line for visible cracks, kinks, or disconnections. If the line looks fine and the shutoff valve is open, your problem almost certainly lies with the valve itself or a clogged filter. If you’ve recently replaced the water filter, run water through the dispenser for 5–10 seconds: new filters sometimes trap air pockets that clear after a few pulses.
How to Replace Your Water Inlet Valve: Step-by-Step Instructions
Replacing a water inlet valve takes 30–60 minutes for most models and doesn’t require specialized plumbing skills. The valve is usually located behind a access panel at the bottom rear of the fridge or inside the hinge area. Consult your owner’s manual or search for your specific Whirlpool model number (found on the back wall or inside the door frame) to locate the valve quickly.