
Table of Contents
ToggleIn-wall speakers are the secret weapon for a polished home theater that doesn’t scream “there’s a giant speaker here.” They disappear into your walls while delivering crisp dialogue, immersive surround sound, and a clean aesthetic that makes the room feel intentional. Whether you’re retrofitting an existing theater or building from scratch, in-wall speakers offer flexibility that traditional floor-standing models simply can’t match. This guide walks you through what they are, how to pick them, install them correctly, and design your room around them, all without hiring a contractor.
Key Takeaways
- In-wall speakers eliminate floor clutter while delivering immersive surround sound, with a five-speaker setup (left, center, right, and two surrounds) creating a seamless soundstage that keeps your home theater aesthetic clean.
- Quality matters more than wattage: investing $400 to $600 per speaker ensures reliable performance and longevity, while budget models with thin baffles often sound thin and tinny.
- Proper positioning is critical—place center speakers at ear level (36-42 inches from the floor) and surrounds 90-110 degrees from the listening position to create immersion without dialogue pulling focus from the screen.
- DIY installation requires careful planning: measure twice, use in-wall-rated speaker wire, and test all connections before patching and painting to avoid costly troubleshooting later.
- Complement in-wall speakers with a dedicated subwoofer ($300-$500+) since in-walls cannot move air like floor-standing models, ensuring full-range bass response for movies and music.
- Use time-alignment delay settings on your receiver when left and right speakers are more than 10 feet apart to ensure off-screen dialogue sounds like it’s coming from the screen, not from a side speaker.
What Are In-Wall Speakers And Why They Matter For Your Home Theater
In-wall speakers are full-range loudspeakers designed to mount flush against or recessed into your drywall, becoming part of the wall itself. Unlike bookshelf speakers that sit on stands, in-walls use your wall cavity as part of the acoustic enclosure, which changes how they project sound and what frequencies they can handle.
They come in two main flavors: framed models (mounted directly to studs with a trim ring visible) and fully recessed speakers that sit inside an in-wall bracket and disappear behind a grille or flush trim. Most have a metal or plastic baffle, a tweeter for high frequencies, and one or more woofers for midrange and bass. Quality matters here, cheap in-wall speakers often sound thin and tinny because the drivers and crossovers aren’t engineered to compensate for room boundary effects.
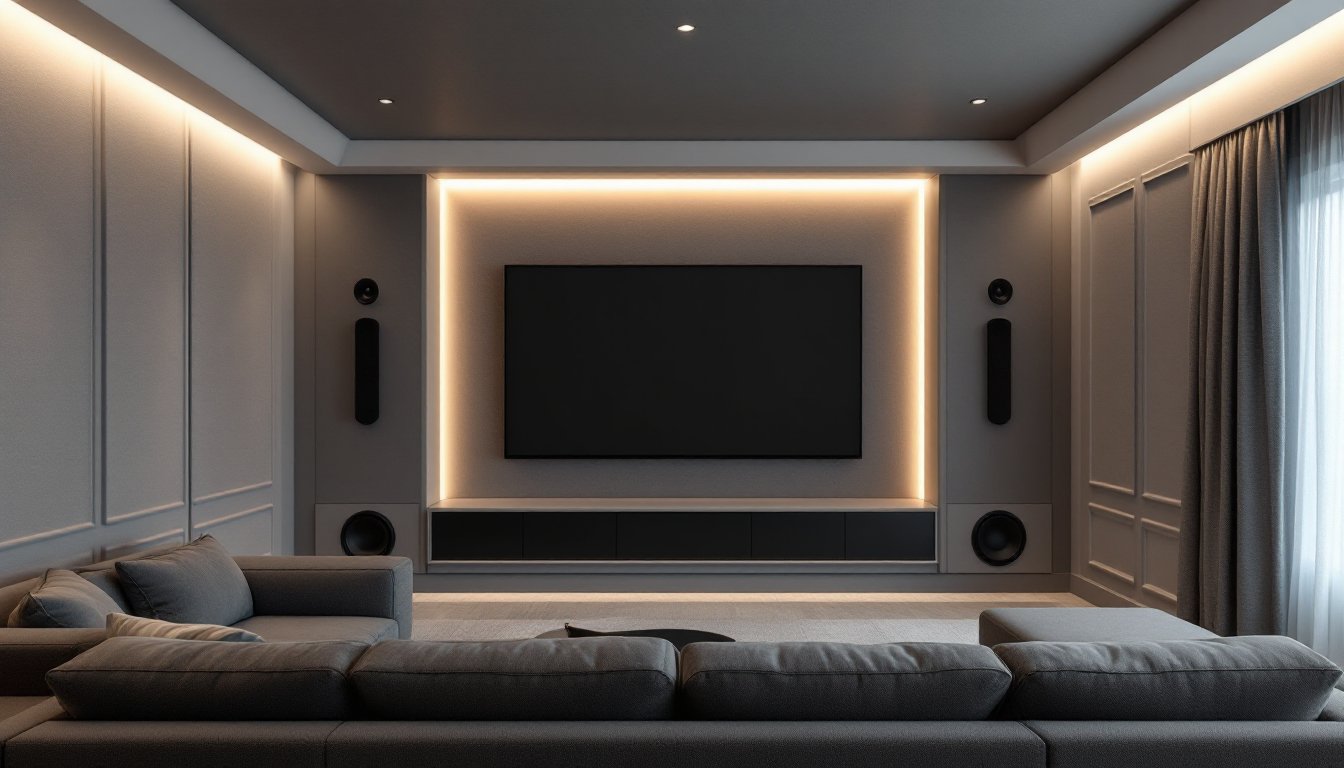
Why use them? A five-speaker surround setup (left, center, right, and two surrounds) creates an immersive soundstage. In-walls let you position surrounds at ear level along side walls without taking up floor or furniture space. They also eliminate cable runs across rooms and keep your wall aesthetic clean. The trade-off is that in-walls can’t move air like a large subwoofer, so you’ll still want dedicated low-frequency support for movies and music.
Key Factors To Consider Before Installing In-Wall Speakers
Sound Quality And Speaker Specifications
Listen before you buy. Specs alone won’t tell you if a speaker sounds bright, warm, or balanced in your room. Look for drivers with decent excursion (how far the cone moves), a crossover frequency that splits the tweeter from the woofer smoothly, and an impedance rating (usually 4 or 8 ohms) that matches your receiver or amplifier. A 40 Hz to 20 kHz frequency response is solid for a surround speaker: anything that dips below 60 Hz will struggle with dialogue and subtle effects without a subwoofer.
Wattage ratings matter less than you’d think, a well-designed 50-watt in-wall speaker will sound louder and cleaner than a poorly designed 100-watt model. Check user reviews and listen to demos at a local retailer if you can. Brands like KEF, Definitive Technology, and Klipsch make in-walls that handle both movies and music without muddiness, though they cost more upfront.
Consider your amp’s power rating too. A typical 70-watt receiver can happily drive multiple in-wall speakers, but if you’re running passive speakers (not powered), make sure your receiver has enough headroom. Getting surround sound in a small room involves careful planning, and in-walls are one smart option if space is tight.
Budget And Long-Term Costs
Good in-wall speakers range from $200 to $1,000+ per pair, depending on driver size, tweeter quality, and cabinet construction. Budget models are tempting, but they often have thin baffle walls that resonate and muddy the sound. Spending $400 to $600 per speaker usually gets you reliable performance and longevity.
Don’t forget installation costs if you hire a pro. Rough-in work (cutting holes, running wires) typically runs $150 to $300 per speaker for an electrician or AV installer. If you do it yourself, factor in drywall patches, paint, and possible stud relocation if speakers land on framing. Add a subwoofer to your budget, even a modest $300 to $500 unit transforms your system’s bass response. Over five years, a well-chosen in-wall setup costs less than upgrading floorstanding speakers twice.
Tools And Materials You’ll Need For Installation
Measuring and layout tools:
- Stud finder (magnetic or electronic)
- Tape measure (at least 25 feet)
- Level (4-foot)
- Pencil and drywall square
Cutting and prep:
- Drywall saw or jigsaw with drywall blade
- Utility knife with fresh blades
- Hammer and pry bar (for removing any existing trim)
- Drill-driver with bits
Electrical and finishing:
- Wire strippers
- Screwdrivers (Phillips and flathead)
- Caulk gun and paintable caulk
- Touch-up paint (matched to wall color)
Materials:
- Speaker cutout template (comes with most in-wall models)
- In-wall brackets or mounting frames (included with speakers)
- Drywall compound (joint compound)
- Drywall tape and corner bead if making large repairs
- Speaker wire (14-gauge minimum for runs under 50 feet: 12-gauge for longer runs)
- Wire staples (not nails, they crush wire insulation)
Safety gear:
- Dust mask or respirator (drywall dust gets everywhere)
- Safety glasses (drywall particles fly when cutting)
- Work gloves (drywall edges are sharp)
If your wall is plaster over lath instead of drywall, you’ll need a jigsaw with a metal-cutting blade and patience: plaster is messier than drywall. For concrete or brick walls, you’ll need a rotary hammer with a masonry bit to drill mounting holes, this is a different beast entirely and worth hiring out if you’re new to it.
Step-By-Step Installation Process For DIY Enthusiasts
1. Plan your layout and mark stud locations. Use your stud finder to identify framing every 16 inches. Most in-wall speakers need to avoid hitting studs head-on because the wood affects sound. Mark your speaker locations on the wall with a pencil, using the template that came with your speakers. Measure twice, a misplaced cutout is hard to hide.
2. Cut drywall carefully. Position the template on your marks and trace the outline with a pencil. Use a drywall saw (a narrow-bladed saw that starts with a push, not a twist) to cut the opening. Take your time and let the saw do the work: rushing creates ragged edges. Wear a dust mask, drywall dust coats everything.
3. Run speaker wire before installing speakers. If you’re running 14-2 or 12-2 in-wall-rated speaker wire from your amp or receiver, do it now. Fish wire through the wall cavity from the equipment location to your speaker opening. Use wire staples spaced every 12 to 16 inches, staying at least 1.25 inches away from stud edges to avoid damage if someone later drives a nail. Never fold, knot, or cram wire, keep it straight and loose.
4. Install the mounting bracket. Most in-wall speakers come with a plastic or metal bracket that sits in the drywall opening. Slide it in, then use the bracket’s fasteners (usually expanding arms or screws) to secure it to the drywall. Make sure it’s level, a tilted speaker changes the soundstage.
5. Connect speaker wire. Strip about 0.5 inches of insulation from each wire end and insert them into the speaker’s binding posts or connectors. Positive (red) to positive, negative (black) to negative. Tighten the posts snugly, loose connections cause crackling and dropout.
6. Slide the speaker into the bracket and secure it. Most in-wall speakers just slide into the bracket and lock with small levers or screws. Make sure it’s sitting flush against the drywall. The trim ring should sit flat without gaps.
7. Patch and paint. Use joint compound to fill any gaps around the trim ring. Sand smooth when dry, then prime and paint to match the wall. This is tedious but worth it, sloppy patch work makes a finished install look amateur.
8. Test before closing walls. If you’re installing multiple speakers or running new circuits, test each speaker before patching drywall. It’s much easier to troubleshoot wiring issues now than later. Play a movie or music and check that all speakers produce sound at similar volume.
Designing Your Home Theater Layout With In-Wall Speakers
A proper surround speaker layout starts with your seating. The center speaker should be at ear level when seated (typically 36 to 42 inches from the floor) and centered on your screen. Left and right speakers sit about 15 to 30 degrees off-axis from the center viewing position, this creates a seamless soundstage without a “hole” in the middle of the screen.
Surrounds (side or rear) should be positioned 90 to 110 degrees from the center listening position, again at ear level. In a smaller room, one pair on the side walls is enough. In a larger room or if you want Dolby Atmos effects, you might add height speakers at or above ear level pointed slightly downward. The goal is immersion without directional dialogue coming from the side, that pulls focus away from the screen.
Distance between speakers affects timing. If your left and right speakers are more than 10 feet apart, set your amp’s delay settings to time-align them with the center. This ensures dialogue from off-screen actors sounds like it’s coming from the screen, not from a speaker 8 feet to your left. Your receiver’s setup microphone can measure this and adjust automatically.
Consider acoustics too. Hard walls and concrete floors bounce sound and create reflections that muddy dialogue. A combination of treatments, soft furniture, curtains, acoustic panels behind speakers, absorbs some reflections without looking like a recording studio. Digital Trends reviews smart home technology that can help calibrate and control your audio playback, and many modern receivers integrate with these systems for automated setup.
Run speaker wire in walls, not across floors. Use in-wall-rated cable (it’s fire-rated and won’t release toxic fumes if it shorts). Bundle wires loosely, tight bundles trap heat and degrade signal. If you’re fishing new wire and don’t have easy access between floors or through attics, hiring an AV tech for this one task saves frustration and protects your walls from repeated cutting.